 The first thing I needed to do was to open up Photoshop and then upload the picture I'd use as my background. To upload the photo I pressed on 'File' and then 'Open' and the picture I sued as mu background is this one:
Next, to add another photo I went to they folder I had my pictures in, found the photo I was going to use, clicked and drugged it to Photoshop. The picture shows how my layers looked like.
The picture completely covered my background so I had to turn the 'Opacity' down so that I could see the other image and move it around so that it fits with the background. And this is what it looked like:
Next step, I went on layer tab and pressed 'Layer Mask' and pressed 'Reveal All' which changed what my layers look like too.
Now I pressed paint brush on the toolbar on the side with the colors black and white at the bottom. At the left top corner of Photoshop I changed the size of my brush to the size that was suitable for me. Then I started painting over the figure carefully so it doesn't mix up with the rest of the picture. If the mistake is done however, you can easily fix by reversing the colors by pressing the little arrow.

I learned this technique by looking at the way m classmate did her work. This helped me a lot and all the credit goes to Becky for what I did so far :).
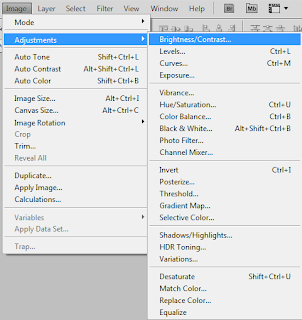
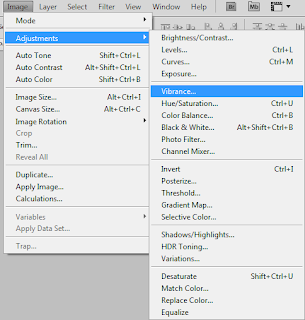
I realized afterwards that I can't or don't know a way to put another picture into layers without having to paint over the two figures again. Therefore I saved the picture as a JPG. and then opened the saved picture in Photoshop and did the same tactic all over again till I got my final image. I also had to think about the shadows on the picture when editing to make sure they're there and so that it looks more realistic. Also when the image was finished, I did one more piece of editing which was to just change the contrast a little bit.


